
Setting up Azure Sentinel and Linux Syslog (RSyslog)
I have several switches, firewalls, UPSs and other devices in my environment I wanted to start to pull data into Azure Sentinel and Syslog using Linux RSyslog. You can use Azure Sentinel to pull syslog information in. It took a bit to do it, but I figured it out, and now I have Azure Sentinel and Syslog working together. I originally tried to use Syslog-ng but it was not reliable and kept cutting out, so instead I am simply using RSyslog, but more on that in a few minutes.
RSyslog Server
- OS: Alma Linux 8
- Syslog software: built in rsyslog
- Azure Agent: Azure Log Analytics Agent for Linux (OMS Agent) Releases · microsoft/OMS-Agent-for-Linux (github.com) (https://github.com/Microsoft/OMS-Agent-for-Linux/releases)
- Webmin for ease of management
Setting up the OMSAgent with Azure workspace.
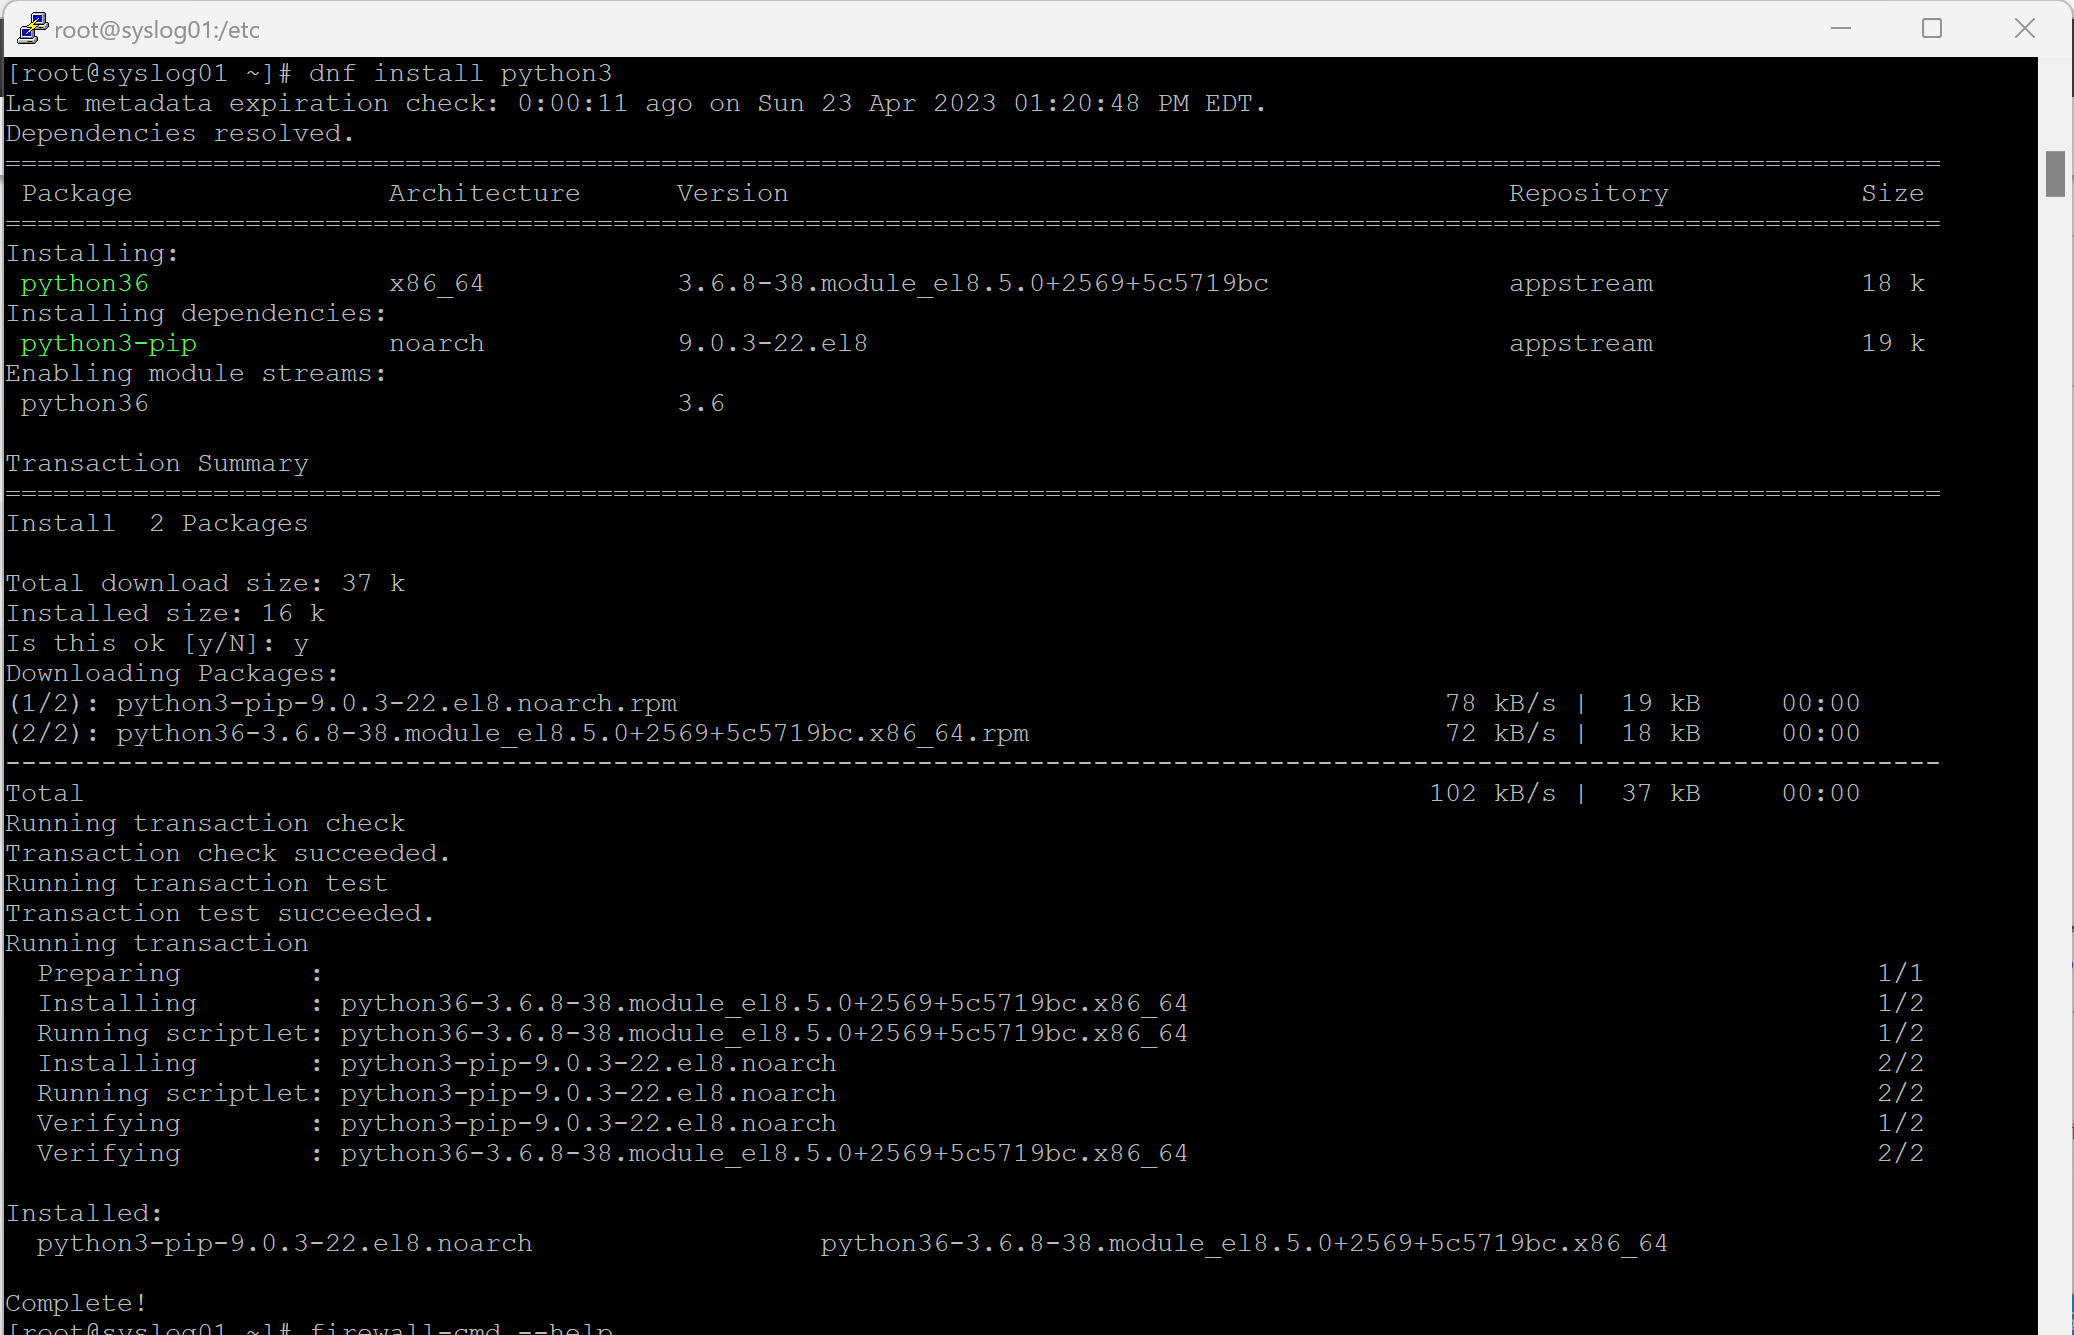
- For prerequisites of Azure Sentinel and Linux Syslog (RSyslog), you will need to install Python3 on your Linux server. When I am working with my linux servers, I use Putty from https://putty.org/ as a my ssh client to get a remote command line on my Linux server. I am using the DNF package manater to do installs om my server, it the command line is basically the same as you would use for the YUM package manager: dnf install <packagename>. to unstall putty you will want to use: dnf install python3 or you can use yum install python3.
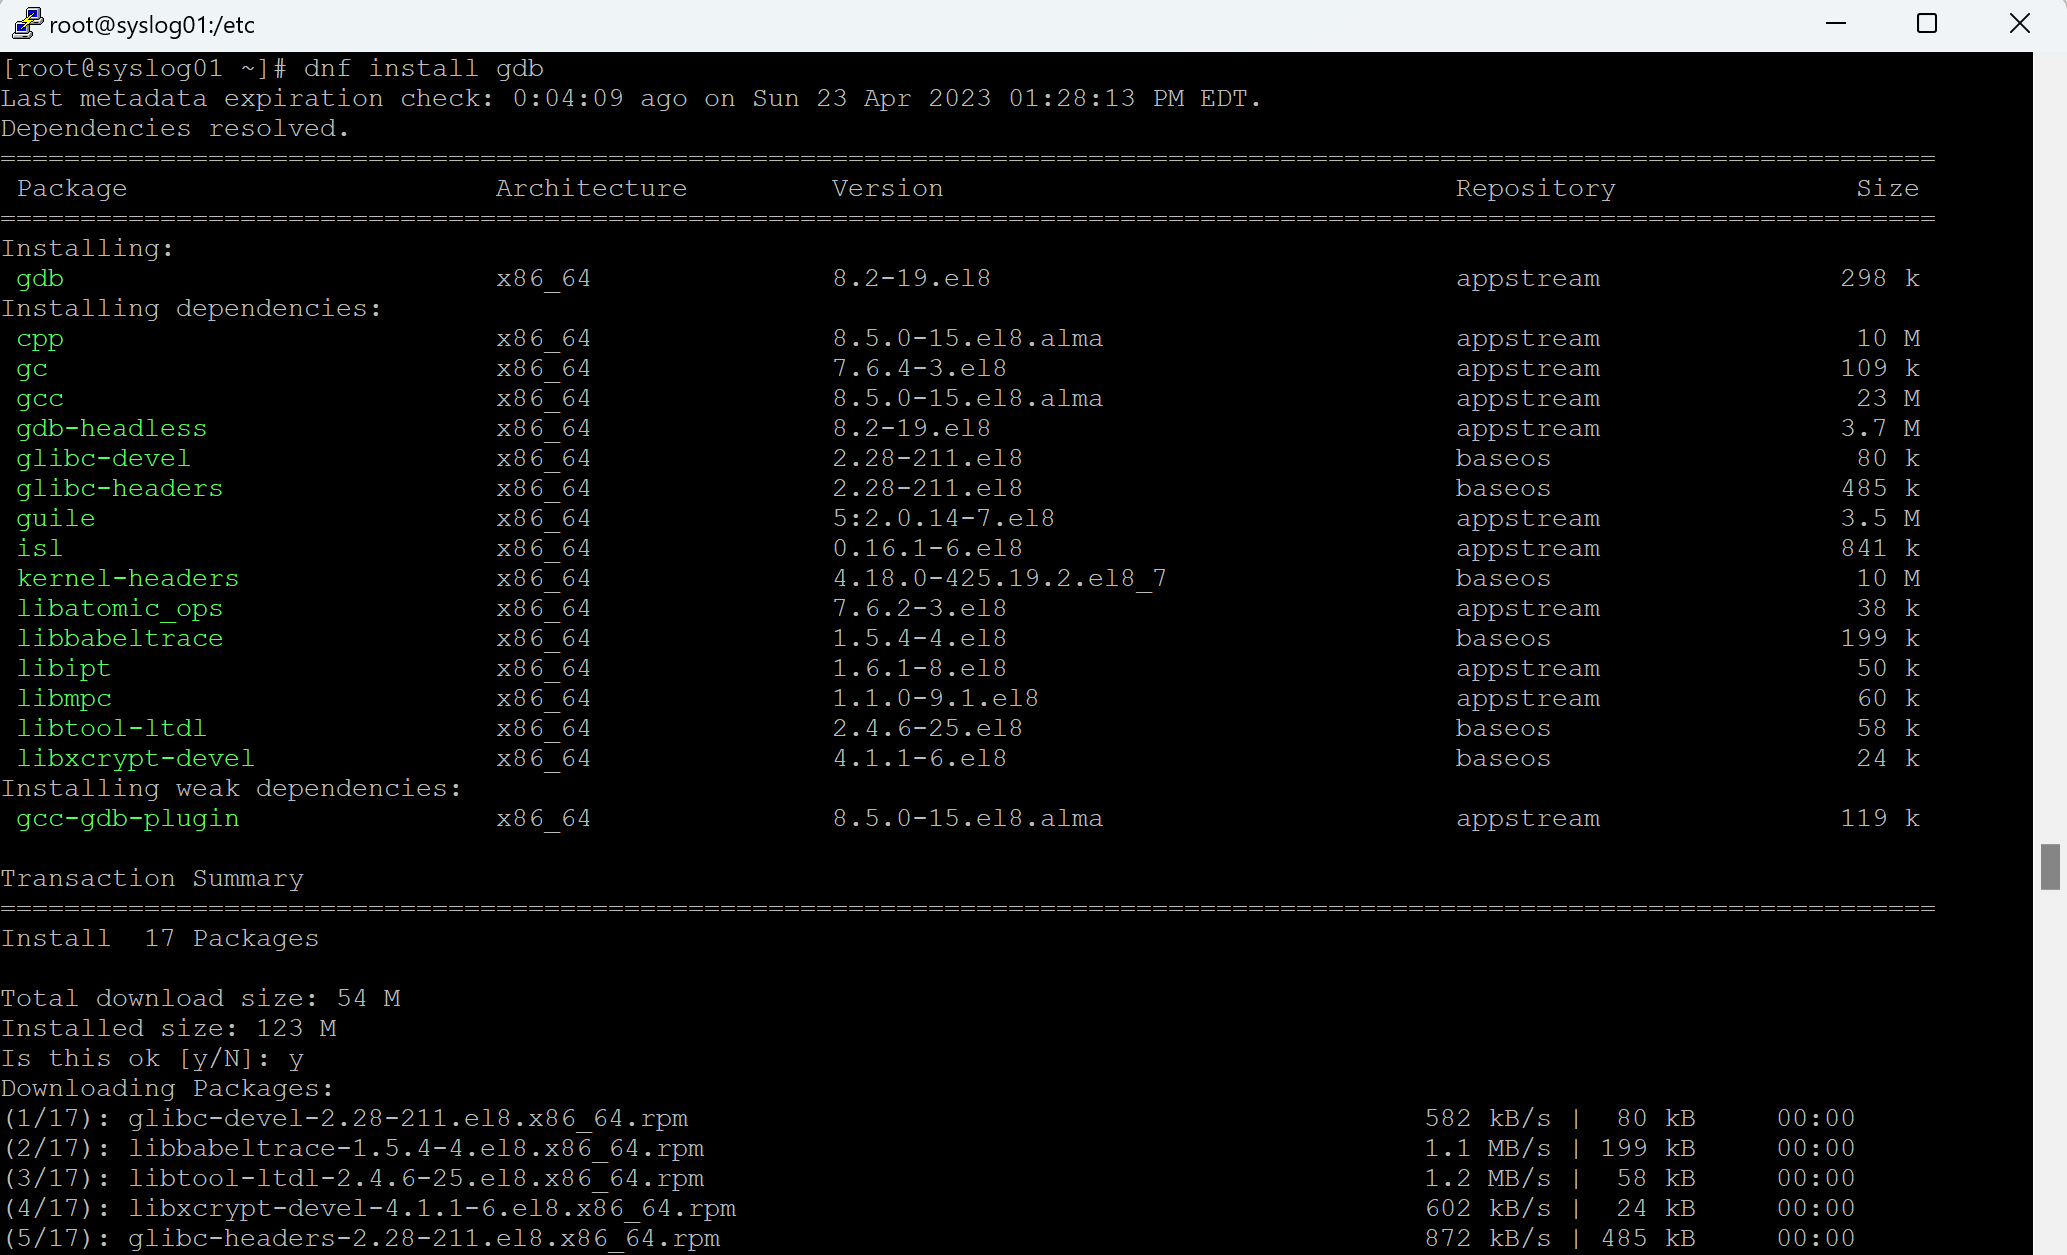
- While not required, you may want to also install gdb (GNU Project Debugger) because if you ever need to rung the OMSAgent troubleshooter (/opt/microsoft/omsagent/bin/troubleshooter), it will need this installed.
- Now we need to get the install command line to install the OMSAgent (Log Analytics Agent). NOTE: the OMS Agent depricated and scheduled for retirement August 31, 2024, and will be replaced by the Azure Monitoring Agent (AMA), HOWEVER, the AMA agent is not yet supported on as many Linux distros and has some issues with Log Analytics. I expect we will see these issues resolved before the retirement of the OMS Agent and will give me the excuse for another article.
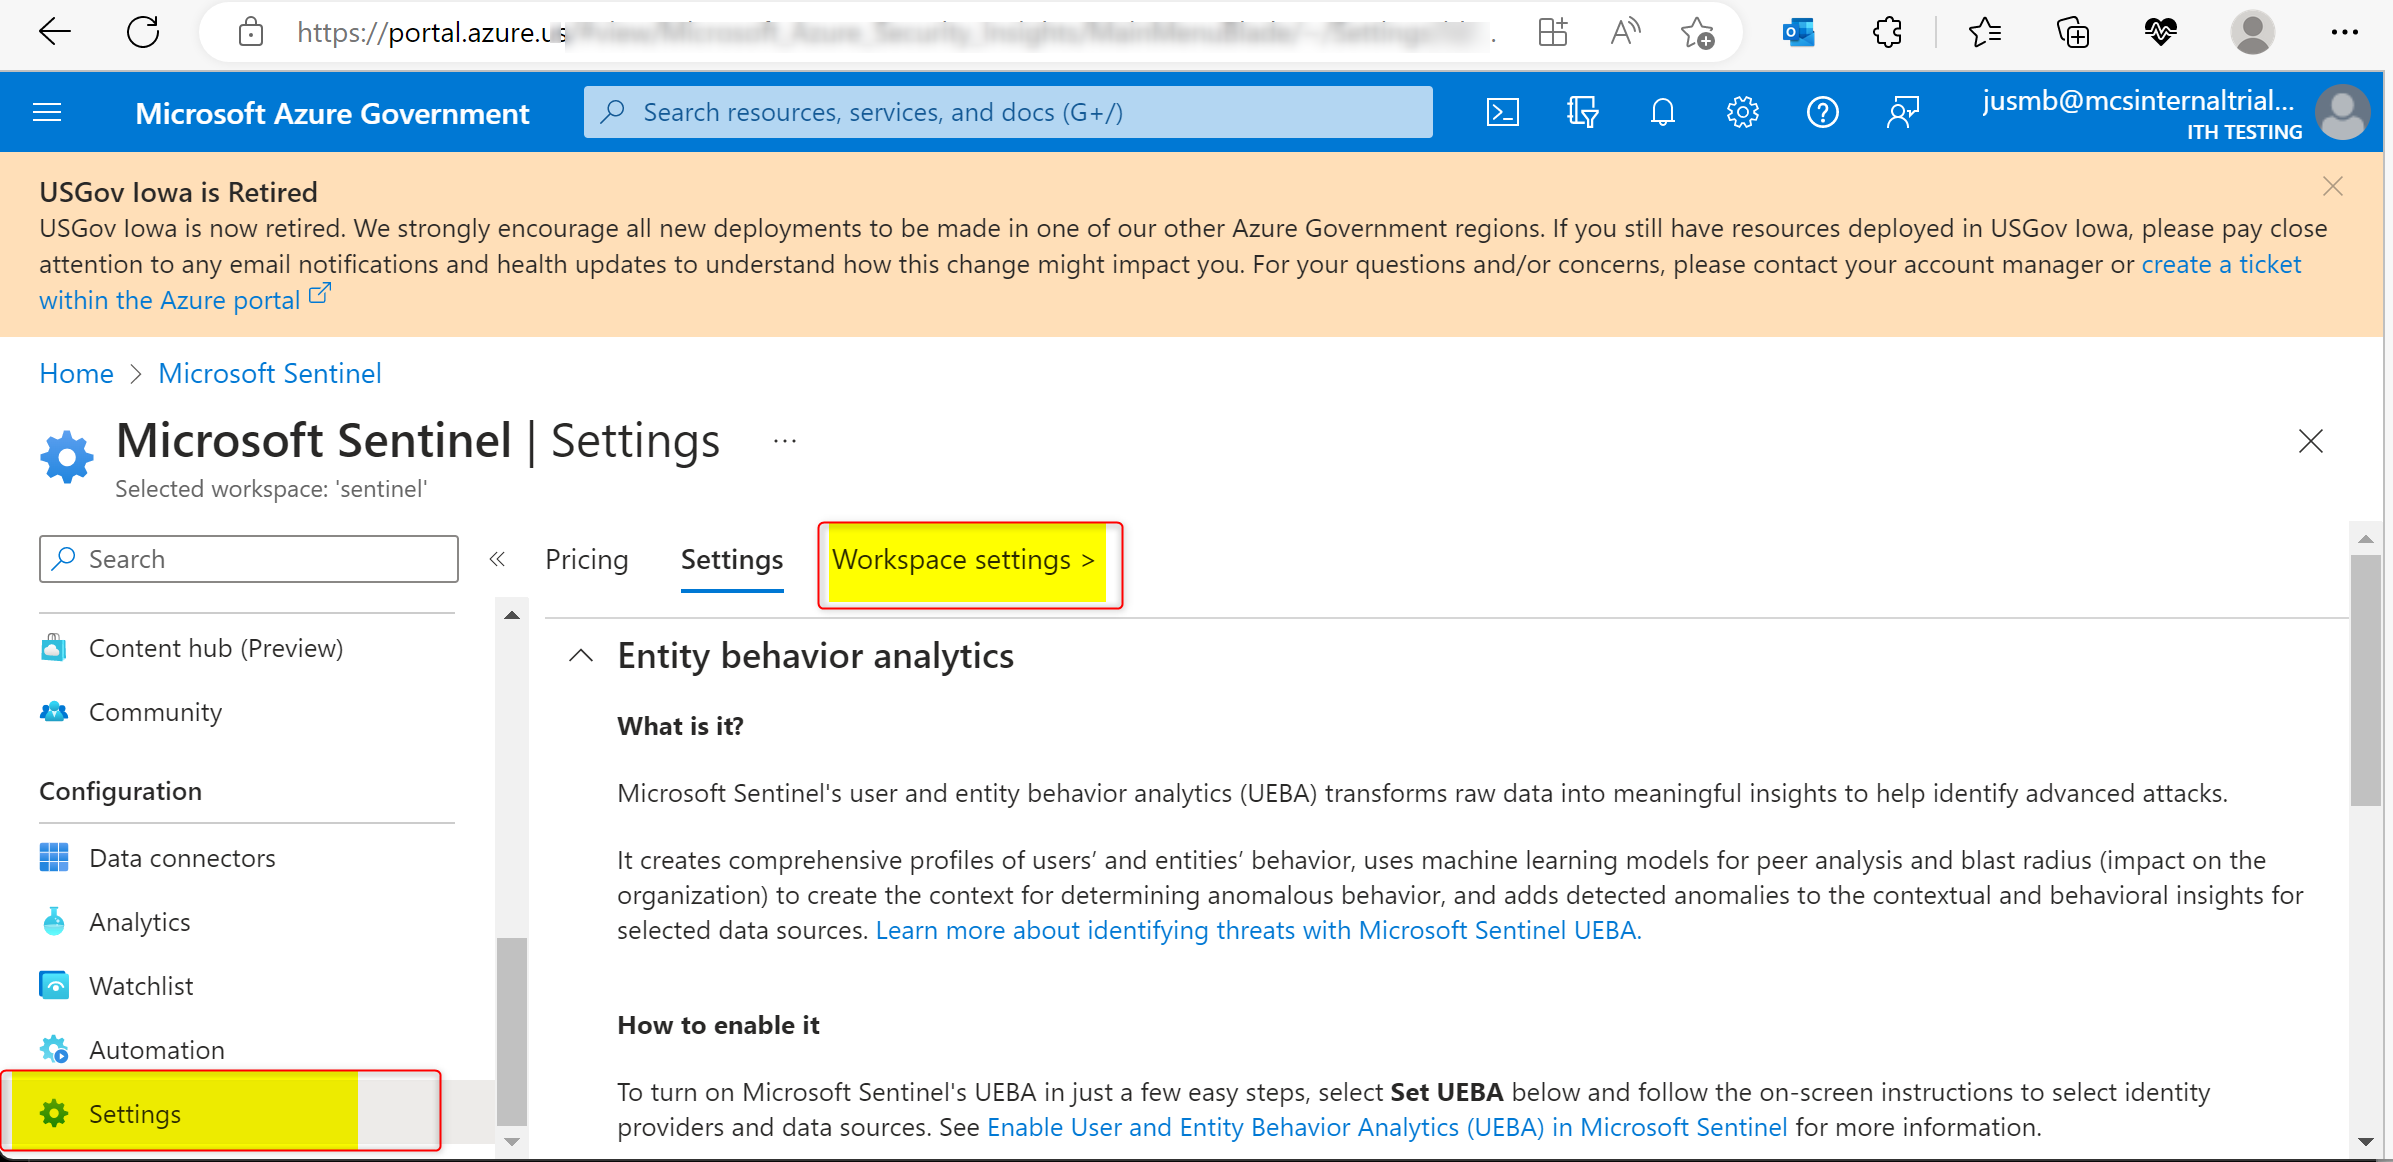
In the Azure Sentinel blade, click on Settings on at the bottom of the left hand menu, then select Workspace at the top of the main pane. This will take you to the workspace.
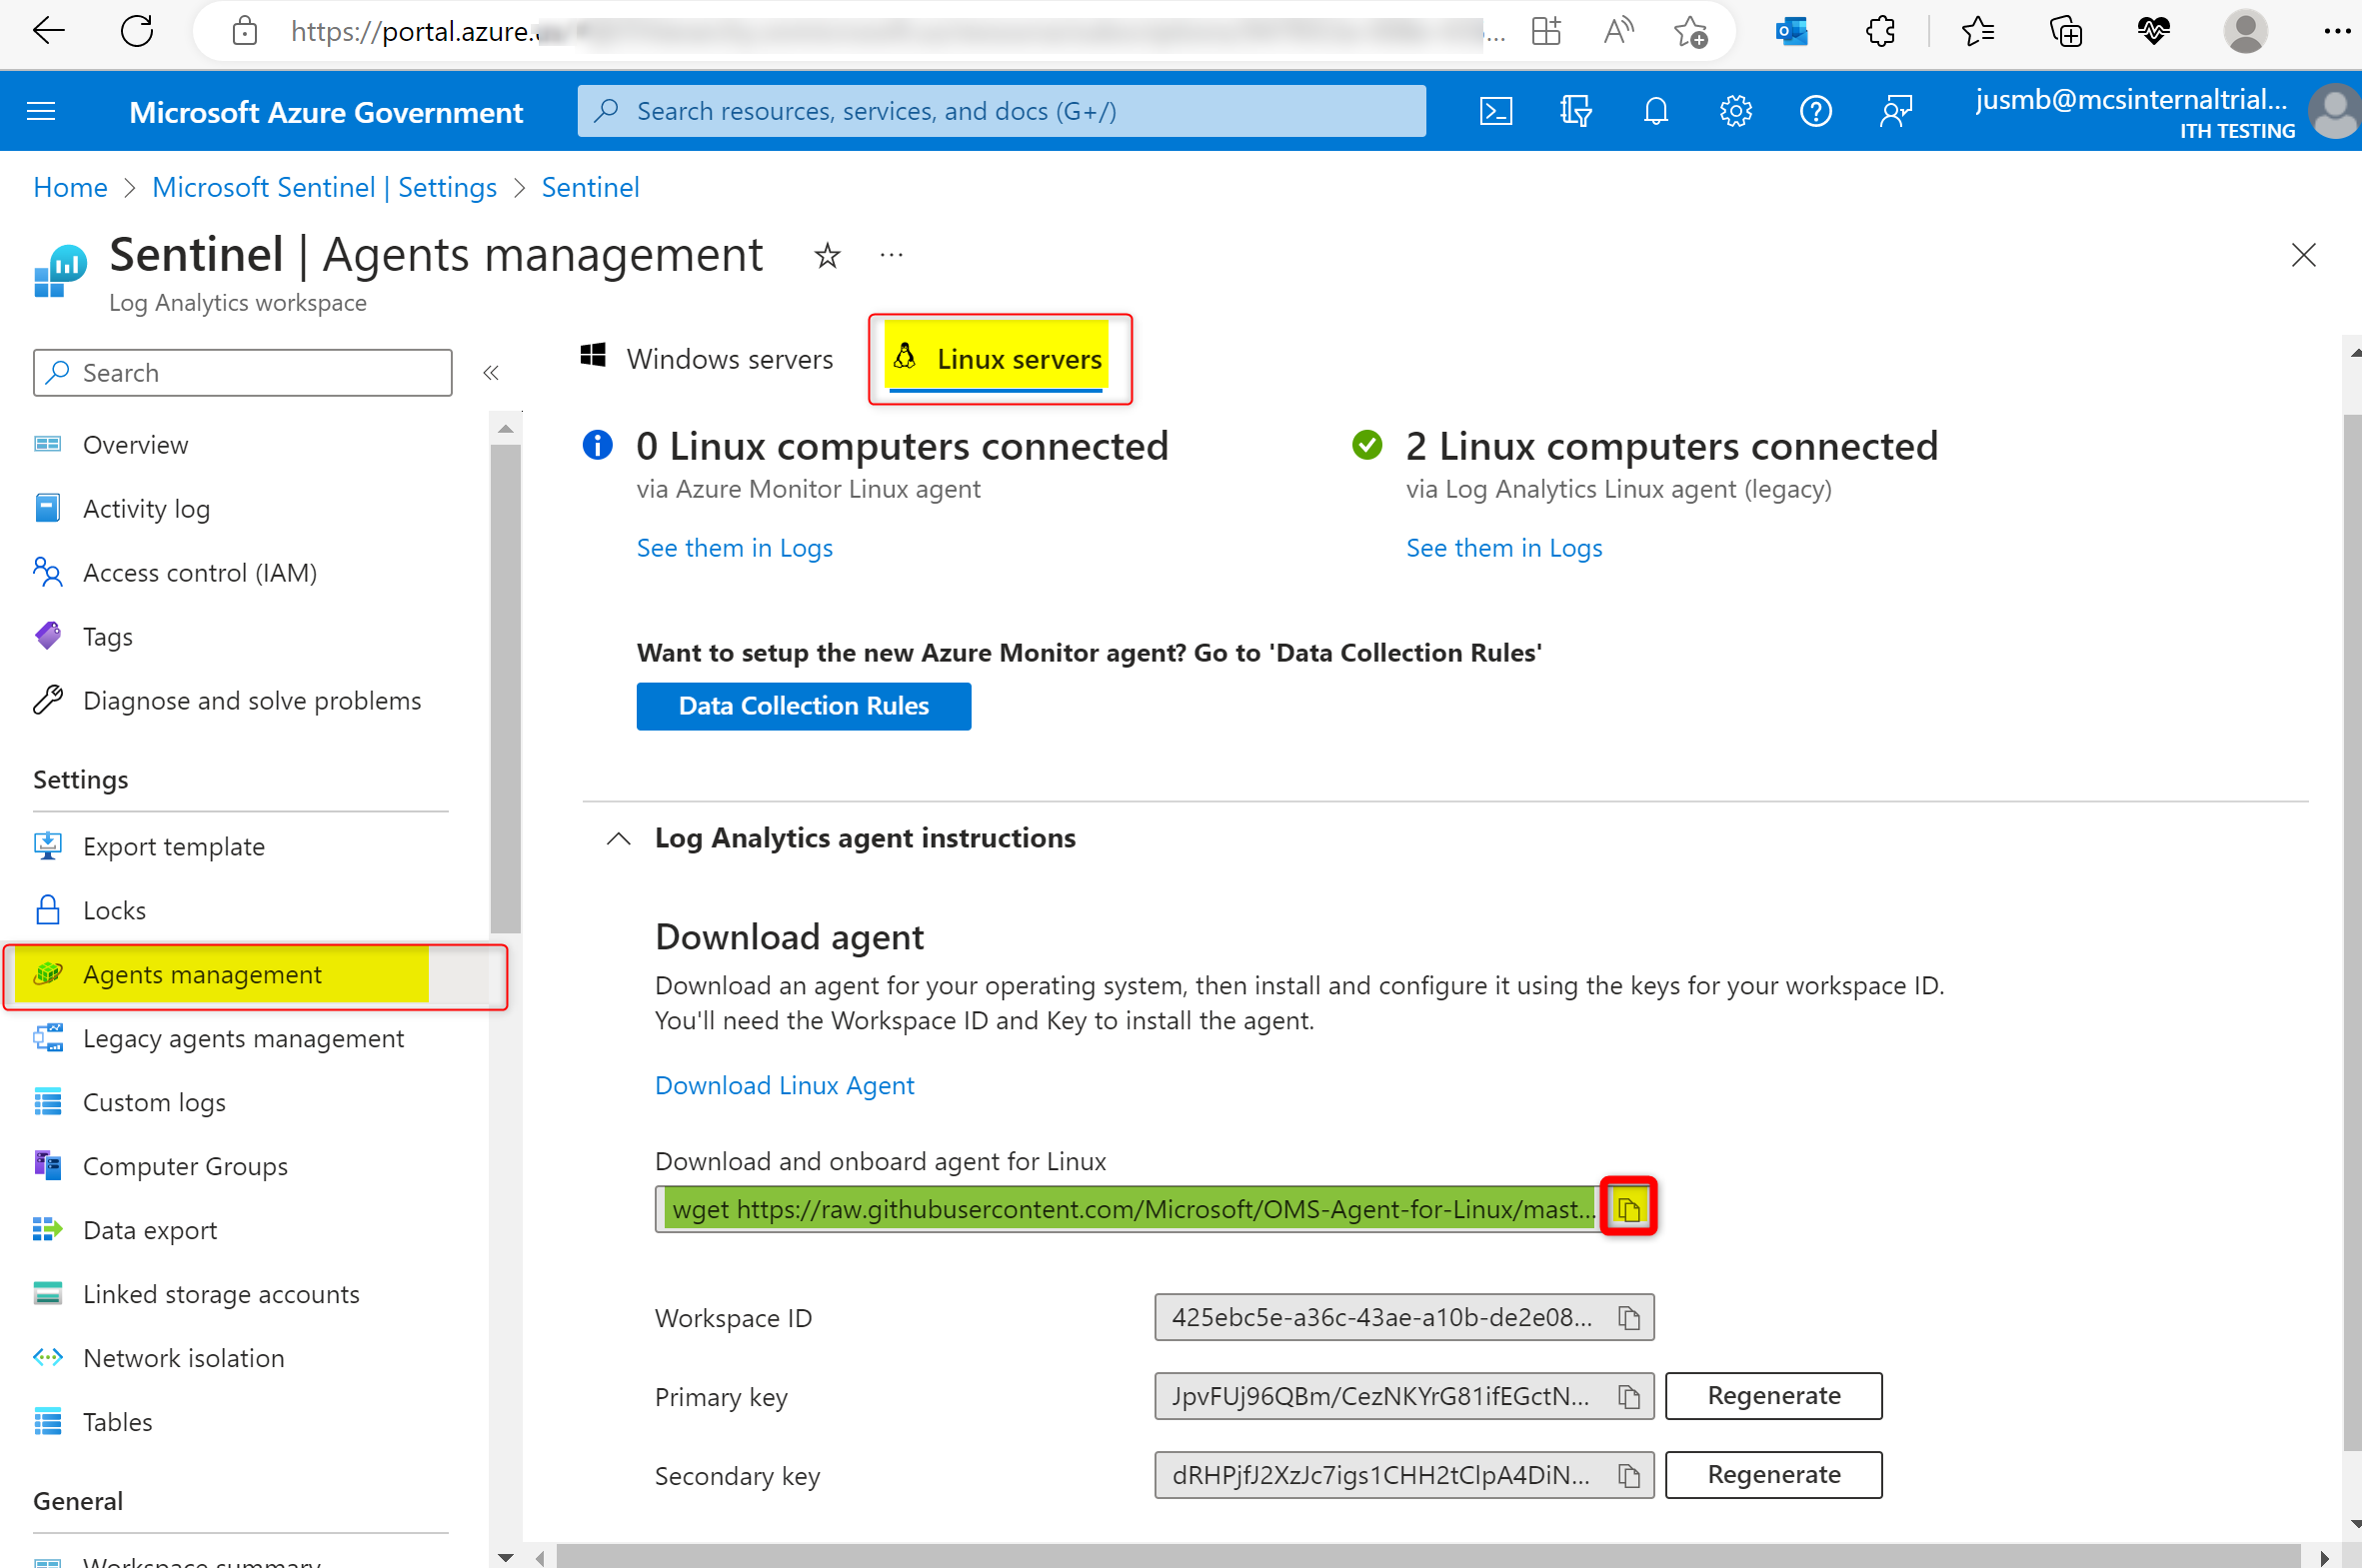
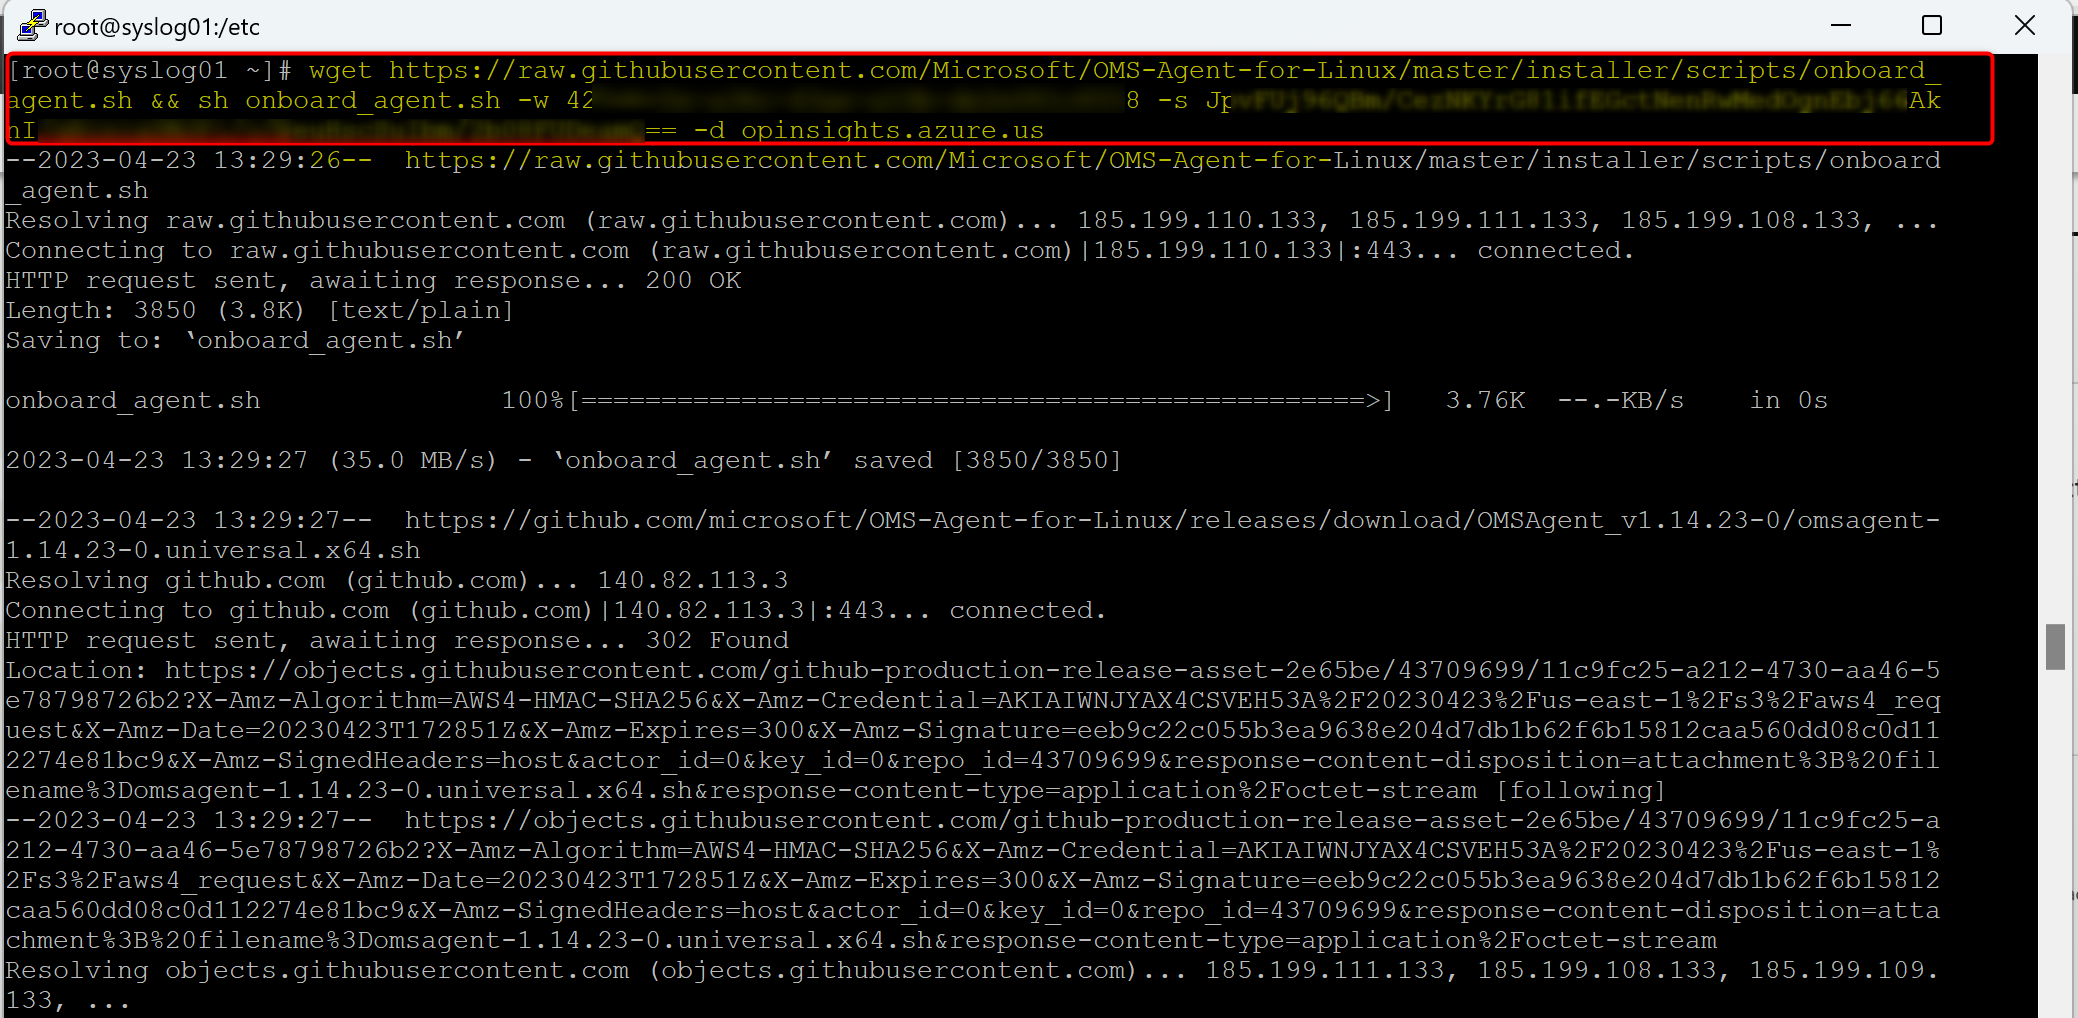
- In the left menu, select Agent Management, then in the main pane, at the top, click on Linux servers. Under "Log Analytic agent instructions", you will see a brief installation instruction, as well as the downloading and onboarding command line. You can click on the copy button and copy the command line to you clip board that you will need to use in your Linux server, then enter it in the command prompt on your Linux server.
- Take this command line back to your Linux box command prompt and past it in and run it.
Configuring RSyslog for working with Azure Sentinel as a Syslog server
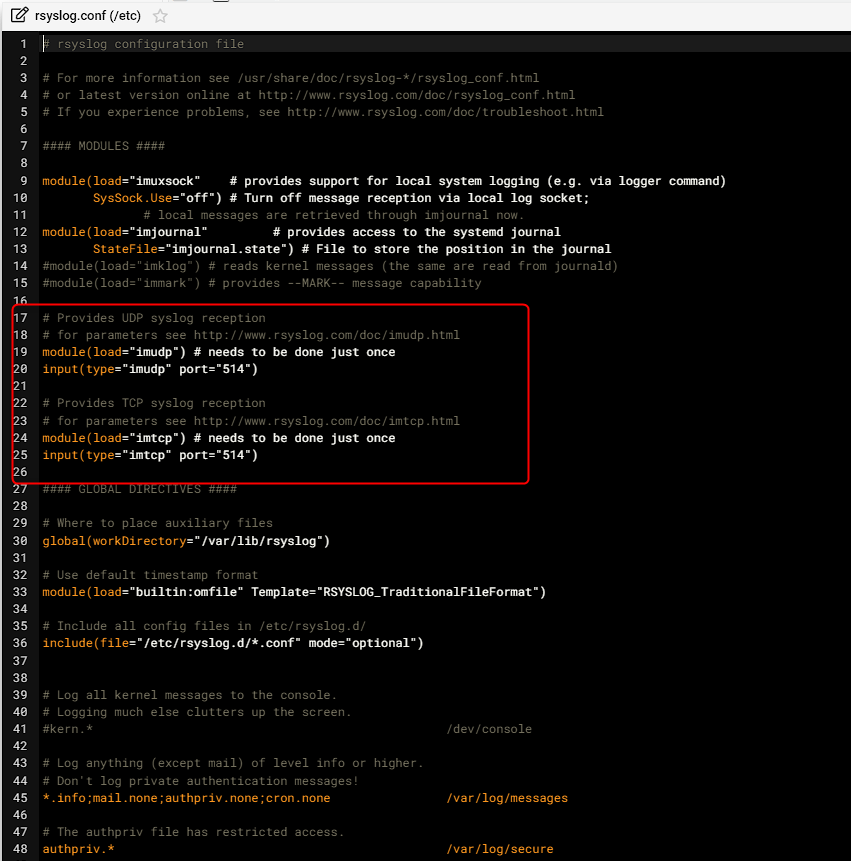
1. You will need to edit the "/etc/rsyslog.conf". Note the path, it is in the "/etc" folder NOT the "/etc/rsyslog.d" folder. You will need to remove the REM character ('#') from the following 4 lines:
module(load="imudp") # needs to be done just once
input(type="imudp" port="514")module(load="imtcp") # needs to be done just once
input(type="imtcp" port="514")
2. The Log Analytics Agent (MMA) will automatically setup the following rules which are typically all you need.
daemon.=alert;daemon.=crit;daemon.=debug;daemon.=emerg;daemon.=err;daemon.=info;daemon.=notice;daemon.=warning @127.0.0.1:25224
user.=alert;user.=crit;user.=debug;user.=emerg;user.=err;user.=info;user.=notice;user.=warning @127.0.0.1:25224
ftp.=alert;ftp.=crit;ftp.=debug;ftp.=emerg;ftp.=err;ftp.=info;ftp.=notice;ftp.=warning @127.0.0.1:25224
cron.=alert;cron.=crit;cron.=debug;cron.=emerg;cron.=err;cron.=info;cron.=notice;cron.=warning @127.0.0.1:25224
news.=alert;news.=crit;news.=debug;news.=emerg;news.=err;news.=info;news.=notice;news.=warning @127.0.0.1:25224
kern.=alert;kern.=crit;kern.=debug;kern.=emerg;kern.=err;kern.=info;kern.=notice;kern.=warning @127.0.0.1:25224
authpriv.=alert;authpriv.=crit;authpriv.=debug;authpriv.=emerg;authpriv.=err;authpriv.=info;authpriv.=notice;authpriv.=warning @127.0.0.1:25224
lpr.=alert;lpr.=crit;lpr.=debug;lpr.=emerg;lpr.=err;lpr.=info;lpr.=notice;lpr.=warning @127.0.0.1:25224
syslog.=alert;syslog.=crit;syslog.=debug;syslog.=emerg;syslog.=err;syslog.=info;syslog.=notice;syslog.=warning @127.0.0.1:25224
local0.=alert;local0.=crit;local0.=debug;local0.=emerg;local0.=err;local0.=info;local0.=notice;local0.=warning @127.0.0.1:25224
mail.=alert;mail.=crit;mail.=debug;mail.=emerg;mail.=err;mail.=info;mail.=notice;mail.=warning @127.0.0.1:25224
uucp.=alert;uucp.=crit;uucp.=debug;uucp.=emerg;uucp.=err;uucp.=info;uucp.=notice;uucp.=warning @127.0.0.1:25224
auth.=alert;auth.=crit;auth.=debug;auth.=emerg;auth.=err;auth.=info;auth.=notice;auth.=warning @127.0.0.1:25224
local1.=alert;local1.=crit;local1.=debug;local1.=emerg;local1.=err;local1.=info;local1.=notice;local1.=warning @127.0.0.1:25224
local4.=alert;local4.=crit;local4.=debug;local4.=emerg;local4.=err;local4.=info;local4.=notice;local4.=warning @127.0.0.1:25224
local5.=alert;local5.=crit;local5.=debug;local5.=emerg;local5.=err;local5.=info;local5.=notice;local5.=warning @127.0.0.1:25224
local6.=alert;local6.=crit;local6.=debug;local6.=emerg;local6.=err;local6.=info;local6.=notice;local6.=warning @127.0.0.1:25224
local7.=alert;local7.=crit;local7.=debug;local7.=emerg;local7.=err;local7.=info;local7.=notice;local7.=warning @127.0.0.1:25224
local2.=alert;local2.=crit;local2.=debug;local2.=emerg;local2.=err;local2.=info;local2.=notice;local2.=warning @127.0.0.1:25224
local3.=alert;local3.=crit;local3.=debug;local3.=emerg;local3.=err;local3.=info;local3.=notice;local3.=warning @127.0.0.1:25224
If you need additional rules such as a rule for local0, you can create a new .conf in the "/etc/rsyslog.d" folder and put the rule in there.
Comments